1. Requirements for Smart-Office Web Application Installation
1.1 Windows 7 or Above Version.
1.2 MSSQL 2008 R2 or Above Version.
Download Link – https://www.microsoft.com/en-in/download/confirmation.aspx?id=30438
1.3 SQLManagementStudio_x64_ENU –
Download Link – https://www.microsoft.com/en-in/download/confirmation.aspx?id=22985&6B49FDFB-8E5B-4B07-BC31-15695C5A2143=1
1.4 Microsoft .Net 4.0 or above
Download link – https://go.microsoft.com/fwlink/?LinkId=2085155
1.5 IIS (Internet Information Services).
1. Install SQL Server
2. Enable IIS :
Below is the video for IIS hosting on windows.
2. Step for IIS enables on windows.
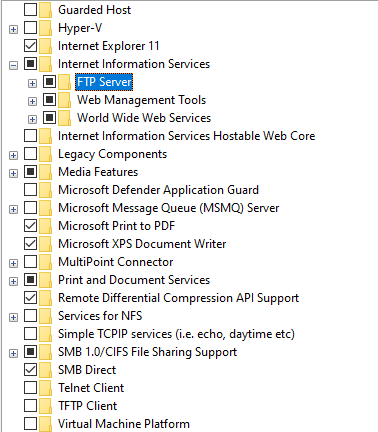
Enable all the IIS (Internet Information Services) services like:
- Internet Information Services.
- World Wide Web Services
- Application Development Features.
- Internet Information Services Hostable Web core
- .NET Framework 3.5(include .NET 2.0 and 3.0)
- .NET Framework 4.5 Advanced Services.
After Enable Click OK and please wait while windows install the selected features. It might take
several minutes.
3. Steps for How to Host Smart-Office Web Application.
3.1 Download Site—- http://smartofficesuite.in/downloads-0 —–SmartOfficeWeb
After download file extract zip file and save folder in any drive or provide full permission.
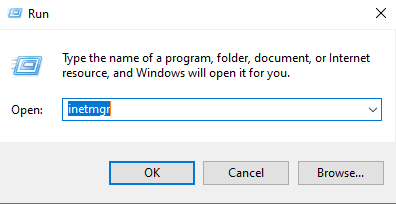
3.2 Windows-> Run->inetmgr
This Option is used to open the Internet Information Services (IIS) Manager.
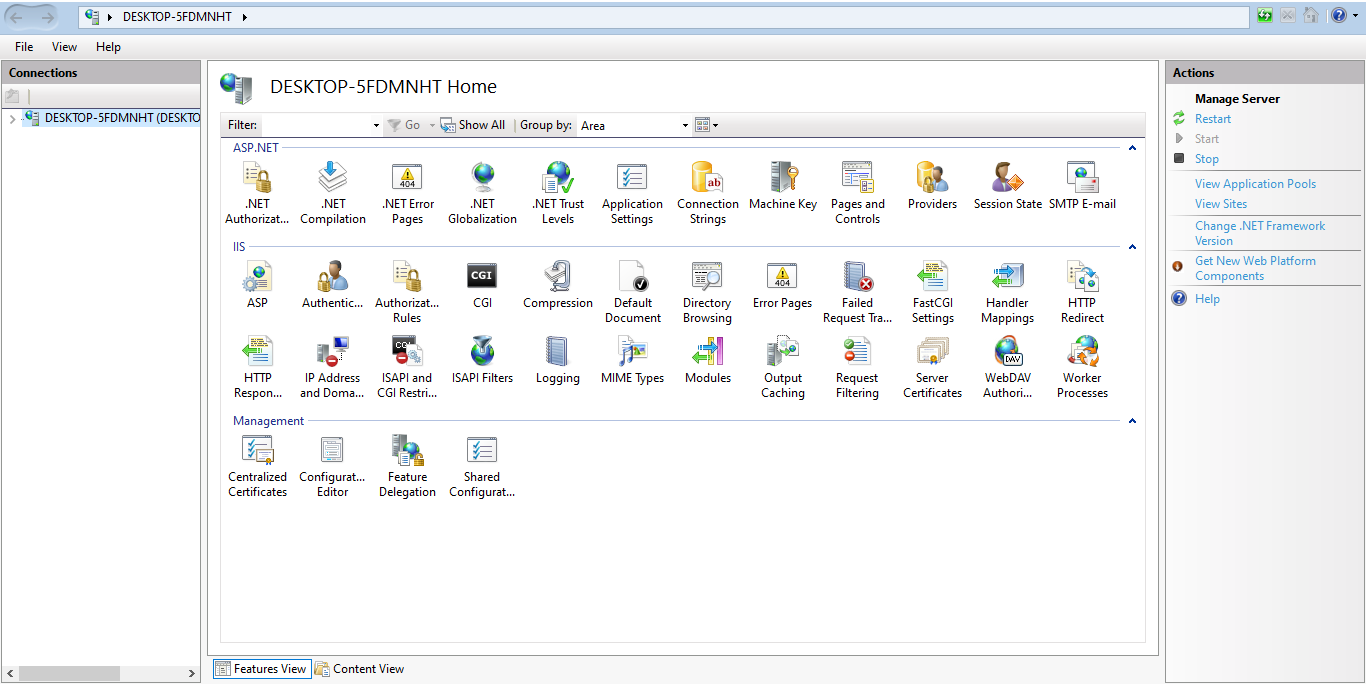
3.3 Internet Information Services (IIS) Manager
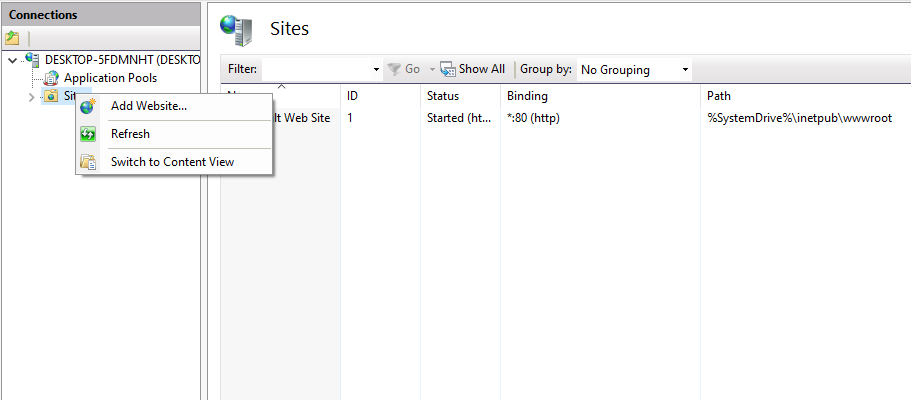
3.4 Right click on Sites->Add Website
This Option is used to add the new website.
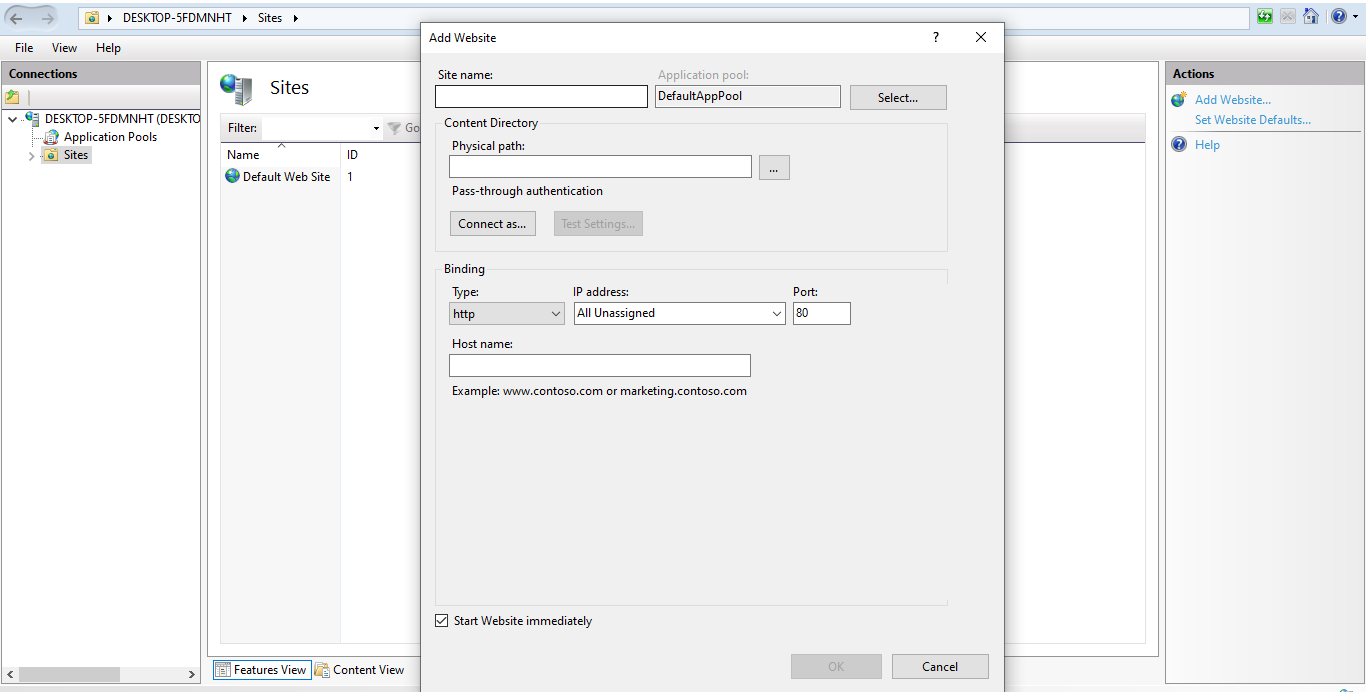
3.5 Add Website:
Site Name:
Provide the Website Name
For Example: SMARTOFFICE
- Application Pool: ASP.NET v4.0 Classic
The Site Name Provided will be the default Application Pool Name
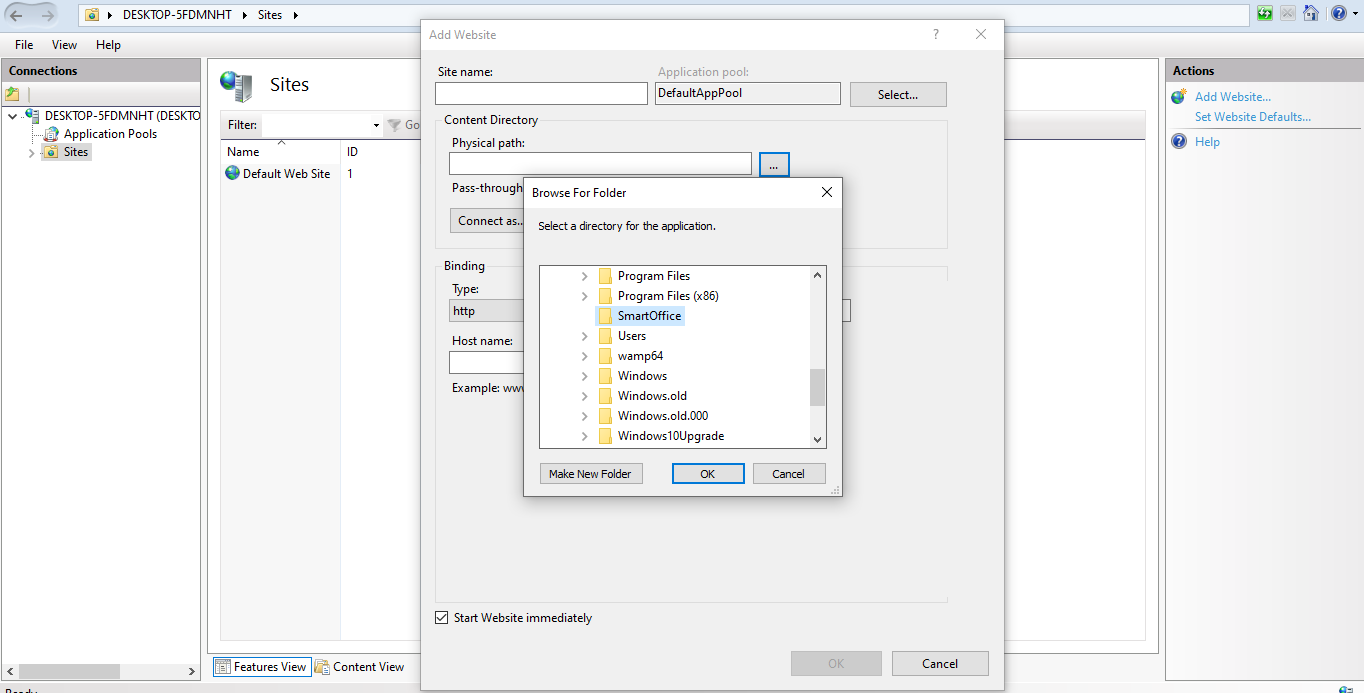
3.6 Physical path:
Browse the Physical path where the Application is Located and click OK. (EX—- E:\SmartOffice-Online\SmartUpload\SmartOfficeOnline).
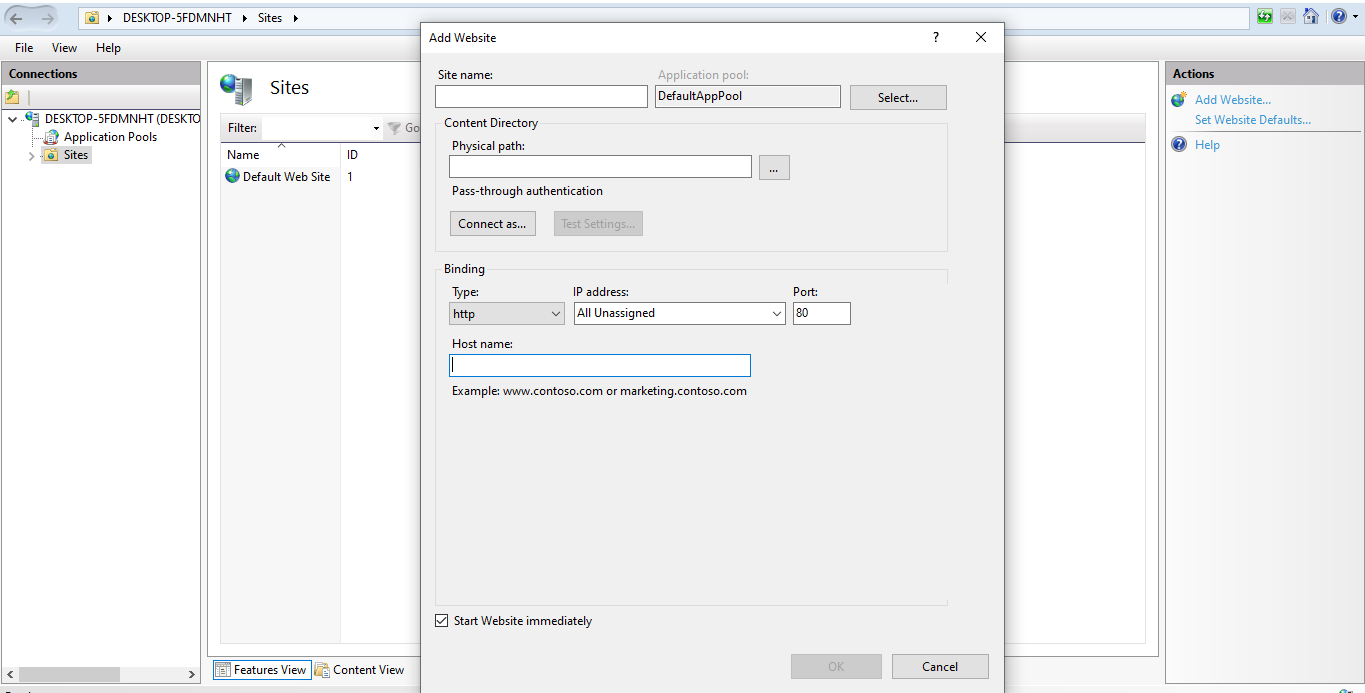
3.7 Binding: Port
Give Port Any Number:- Like 81, 8080 and click OK
3.8 Website is added as: SmartOffice
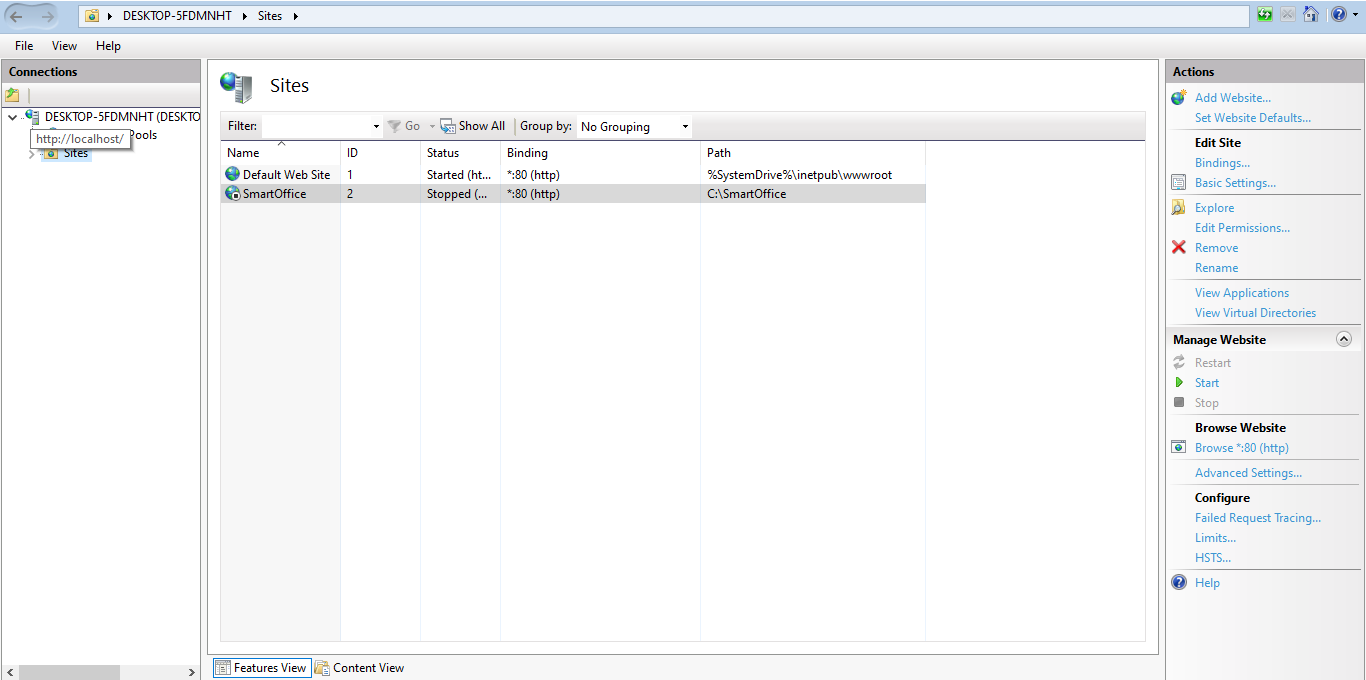
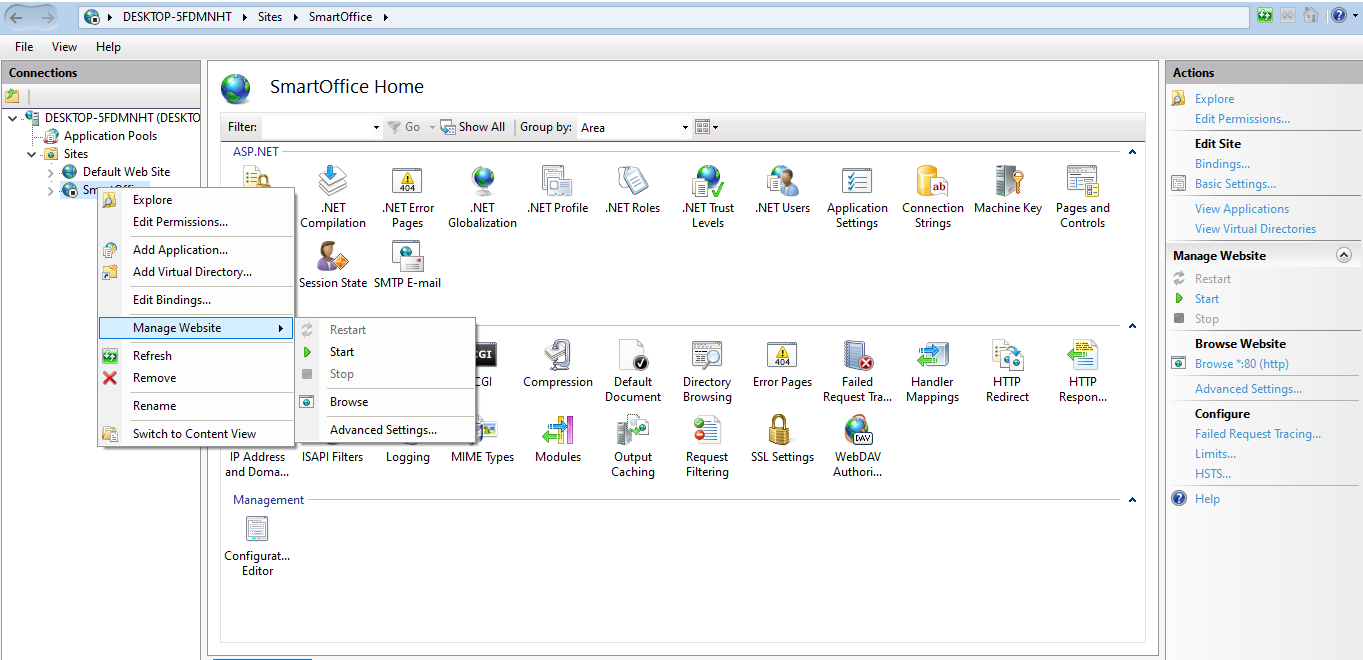
3.9 Right click the Site->Manage Website->Browse
This option is used to browse the Application
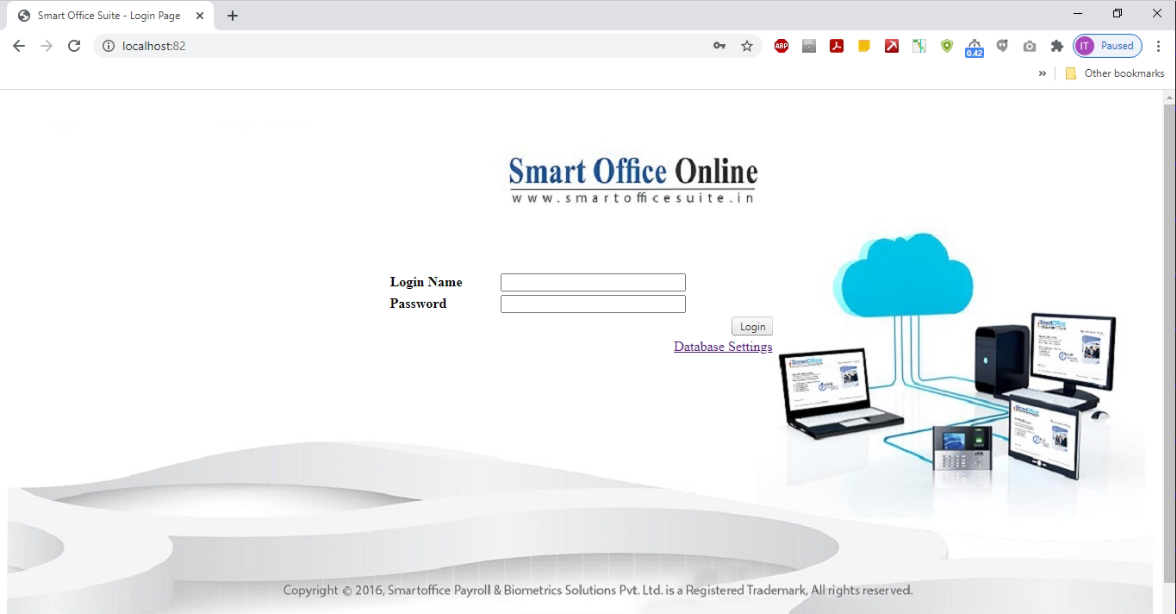
3.10 The Smart Office Online Application Hosted
4.Steps for How to Attached Database in MSQL
4.1 Open SQL Server Management Studio.
4.2 Right-click on database——Attach——Add—-Select smartoffice.mdf file—–Click OK
Note:- Select the Physical Path where the smartoffice.mdf file save.
(EX- E:\SmartOffice-Online\SmartUpload\database\ SmartOffice.mdf)
4.3 Database Settings:
4.4 Click database settings option:
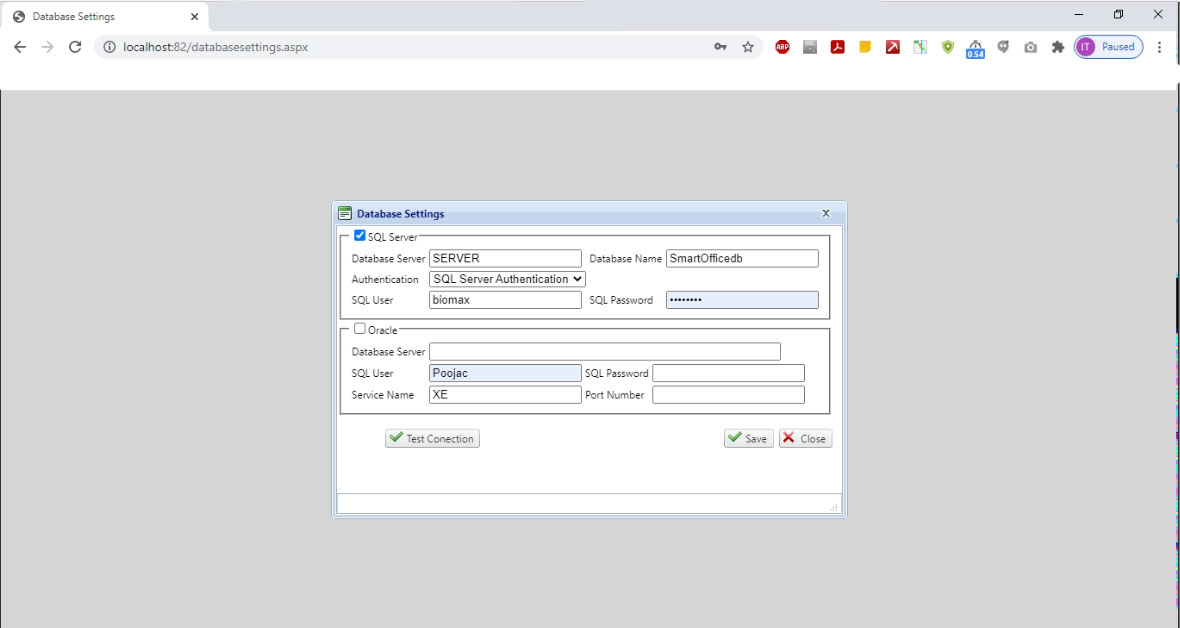
SQL SERVER :
Provide the database server Name & database Name.
For Example: SQL Server database
Database server: TECHSUPPORT-PC
Database Name: SmartOfficedb
Authentication: SQL server Authentication
SQL User: SA
SQL Password: biomax
4.5 Click on Test Connection and Save
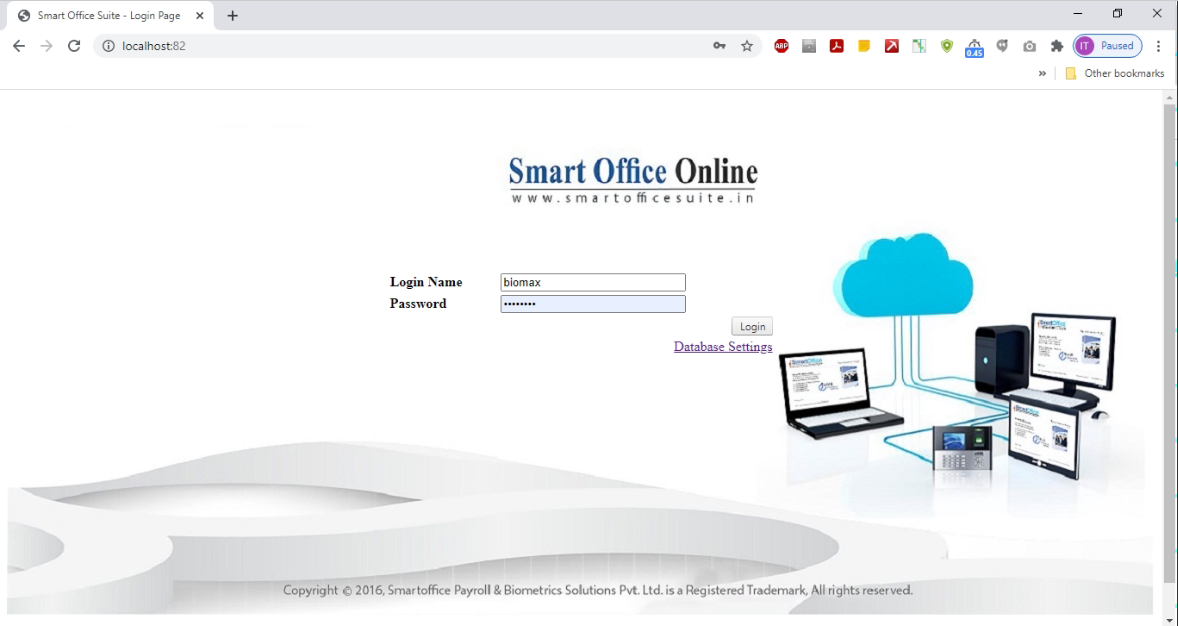
Login Name: biomax
Password: biomax
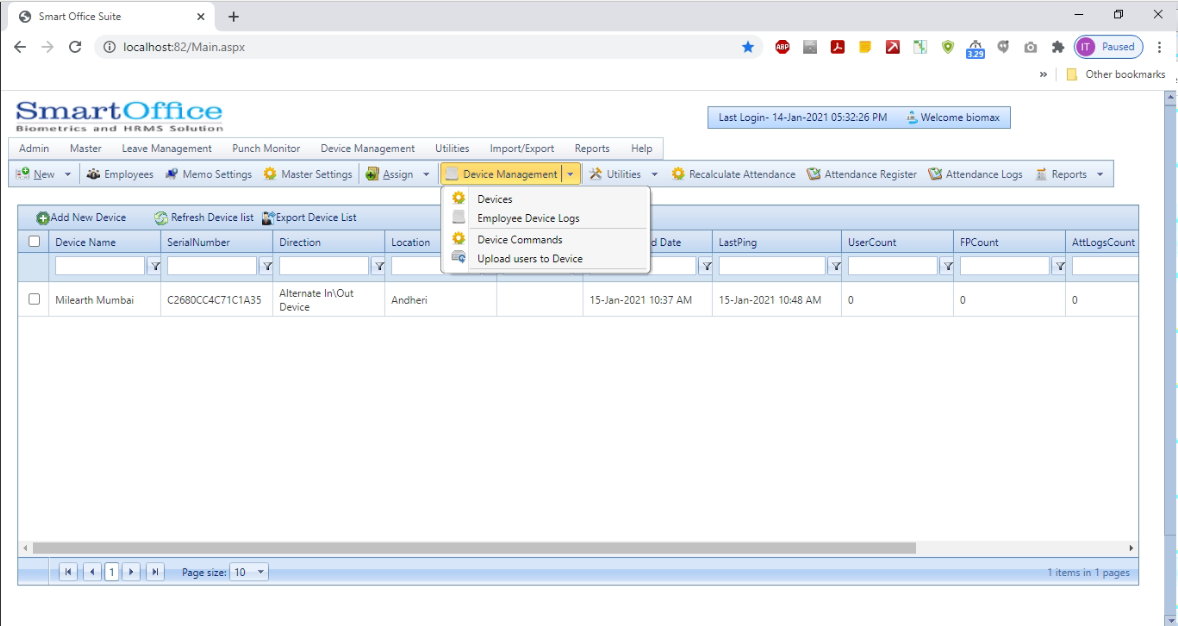
4.6 How to connect device with Application:
Device management—-devices—-Add new devices
Device Name:– test Short Name:– test
Serial Number:- C2684450831C3632 IP Address:- 192.168.0.45
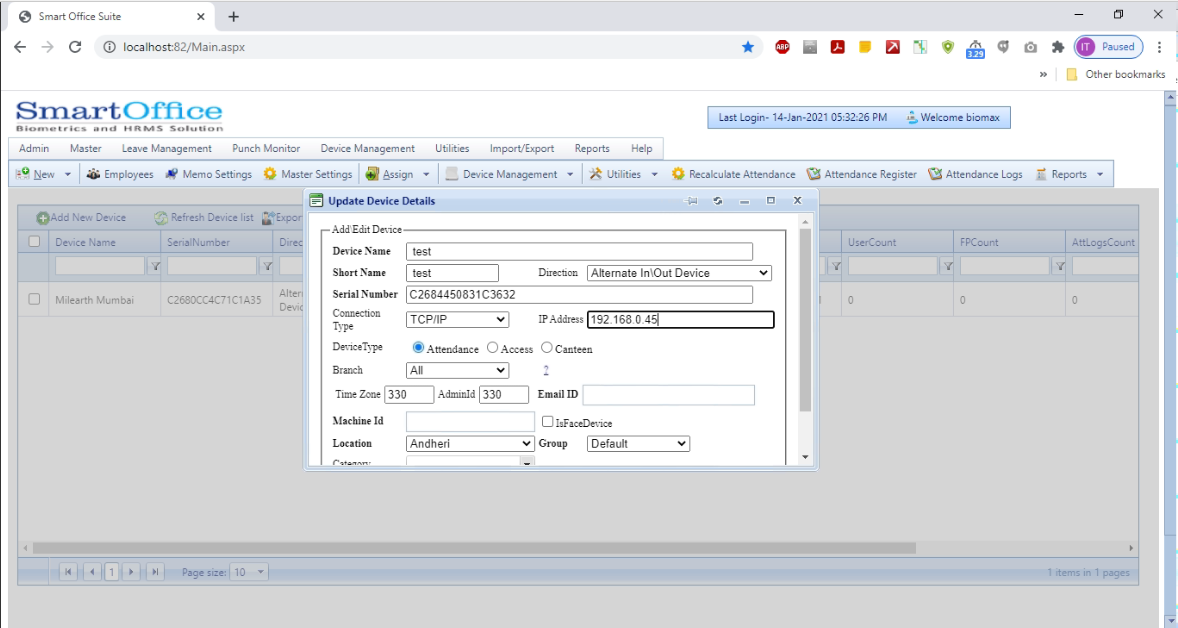
Note:- Serial number means device cloud number.
(Device Menu Settings Network Cloud Number)
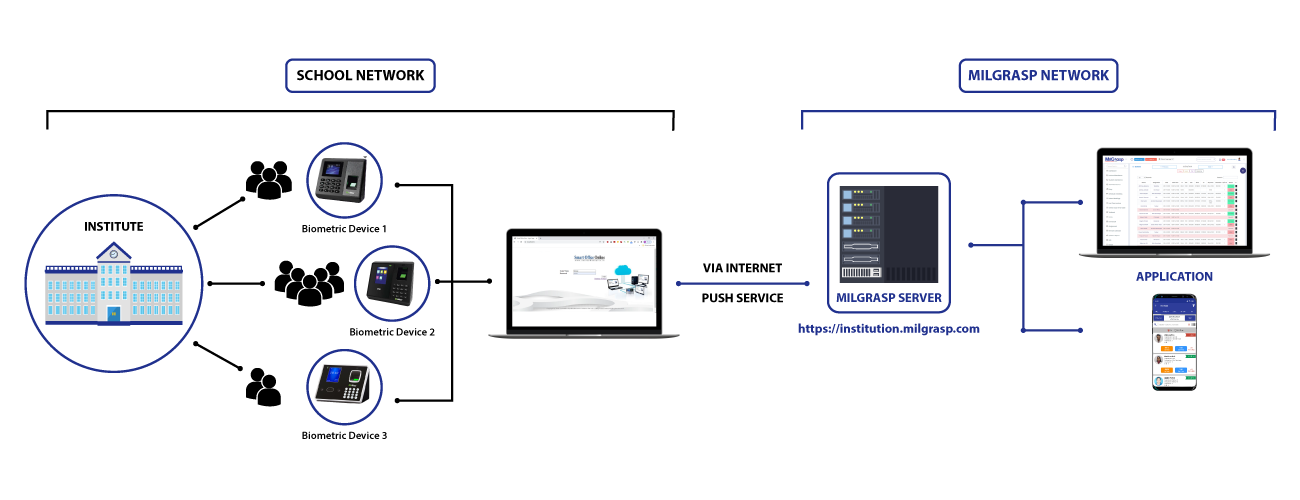
5. Enable Push Data
5.1 E:\SmartOffice-Online\SmartUpload\PushDataCollectorService
5.2 Install “PushDataCollectorServiceSetup”
5.3 Click on the “Start” type “Services”. Start the Services
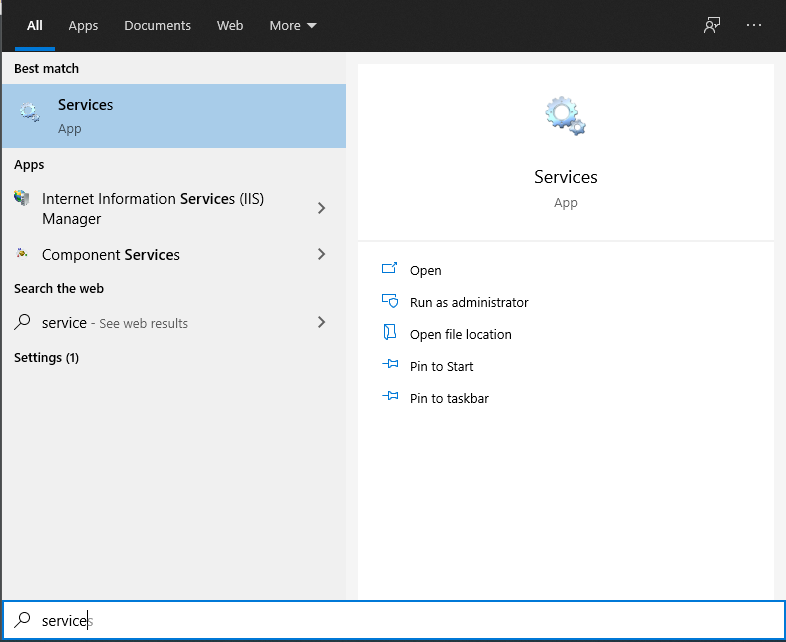
5.4 Services → SmartOffice_PushDataCollector → Right Click → Properties → Startup type → Automatic → Apply → Save
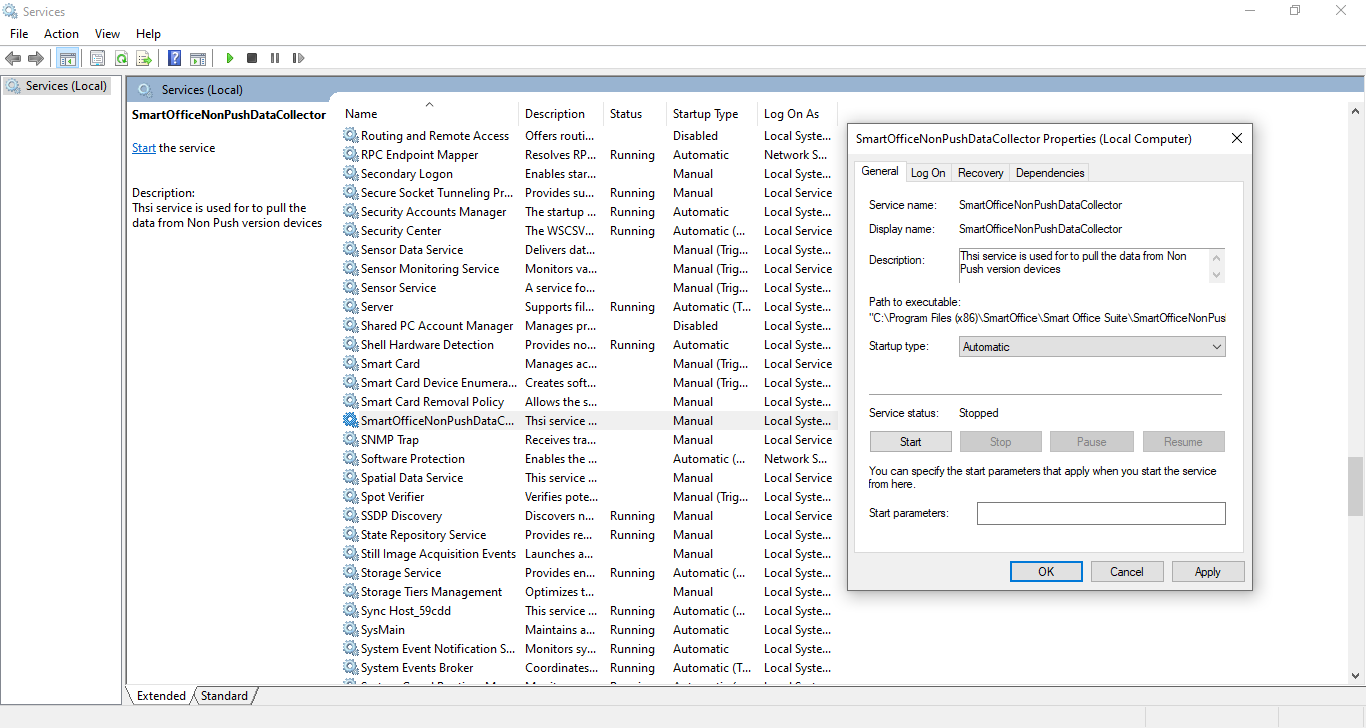
5.5 The status should be “Running“.
5.6 If it is blank then Right Click on “SmartOffice_PushDataCollector” & click on start.
5.7 Repeat steps 4 – 6 with “SmartOfficeNonPushDataCollector”
6. Parallel Database connection
6.1 Utilities tab → Parallel Database Export
6.2 Fill the entire form as shown in the below Image (Remember to click on the “Is parallel Database Export”)
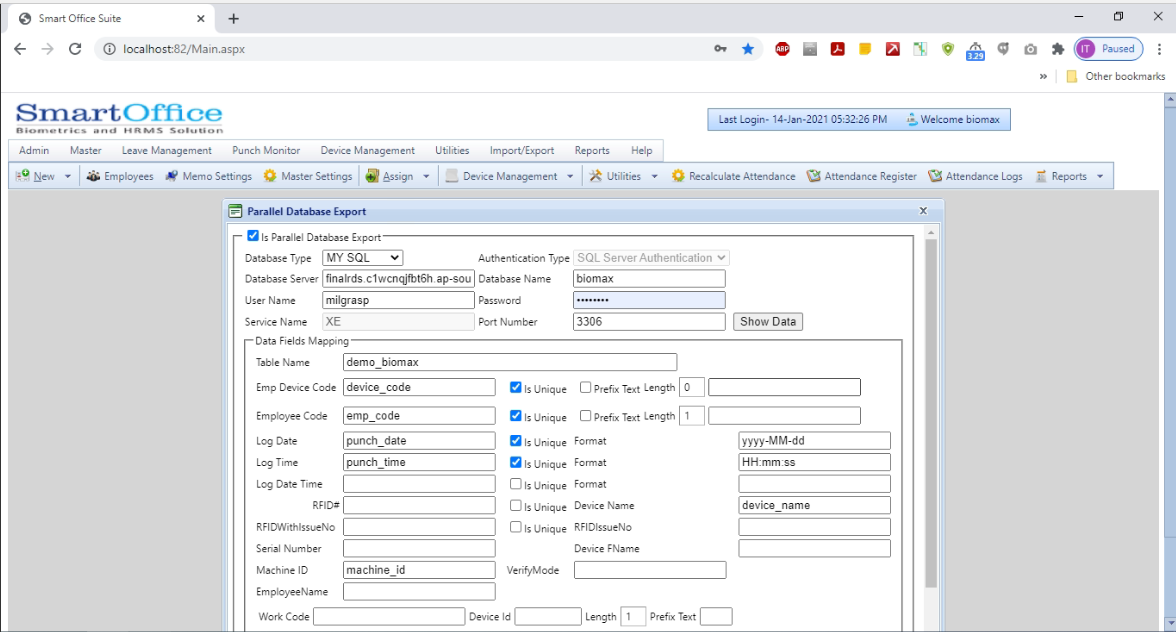
6.3 Click on the Test Connection button than save.
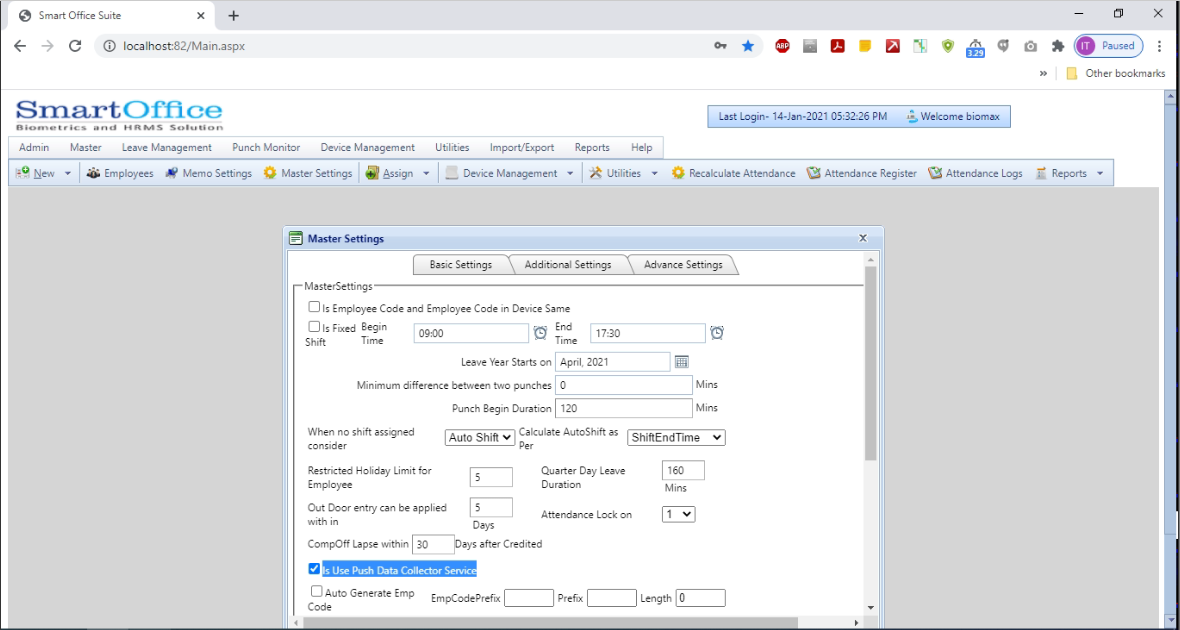
6.4 Master → Master SettingsMaster → Master Settings
6.5 Click on checkbox “Is Use Push Data Collector Service” → Save
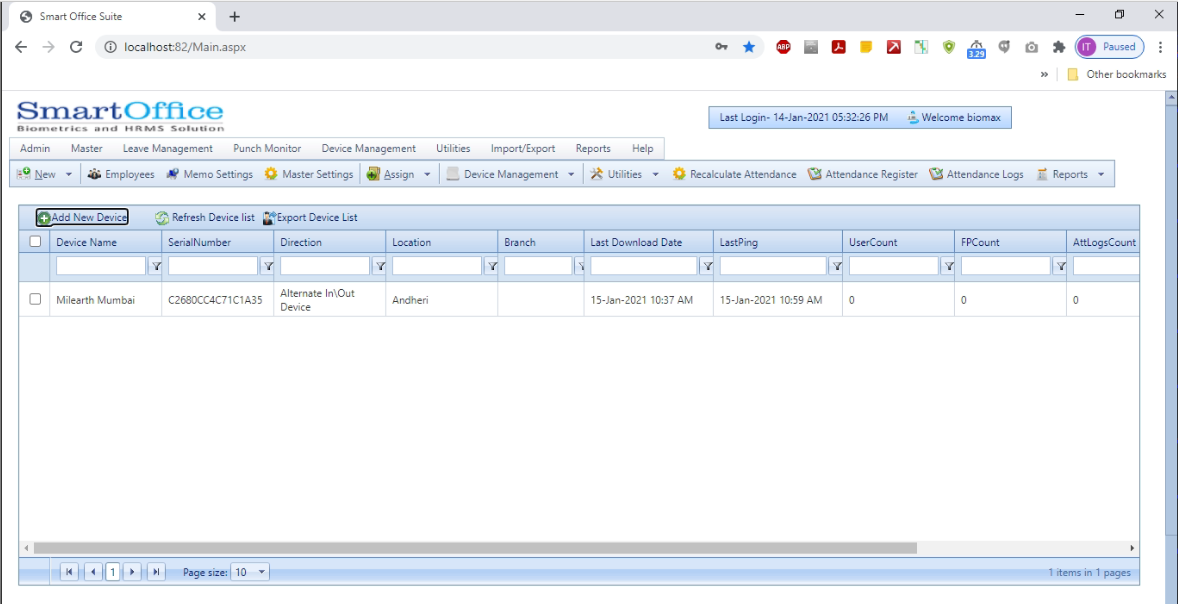
Device Configuration
1. Device Management → Devices → Add New Device → Save
2. Assign any device name, name should end with branch name of the domain
3. Copy paste Device Name in Short name cell
4. Copy Cloud ID from Biometric M/C in Serial No. cell
5. Copy device IP address from Biometric M/C in IP address cell
6. Assign M/C ID*** (1 or 2 or 3 etc), ***Machine ID should be unique for each device in specific domain
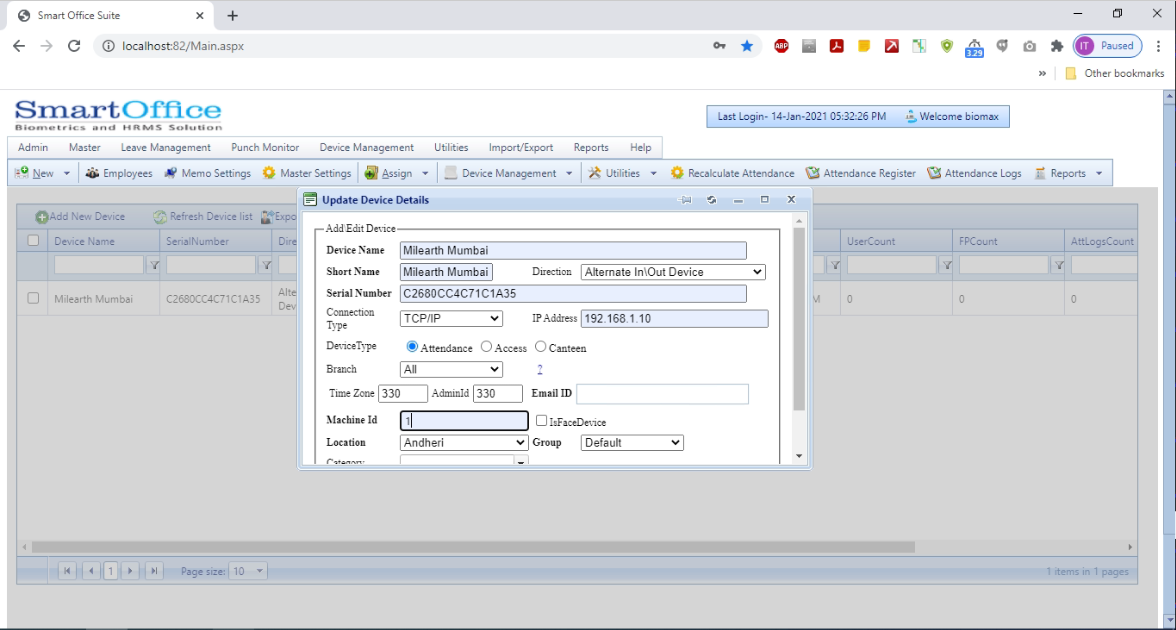
7. Click on the save button to save the details.
8. If device & data is configured correctly the device will show online
7.Export Employee Data from MilGarsp
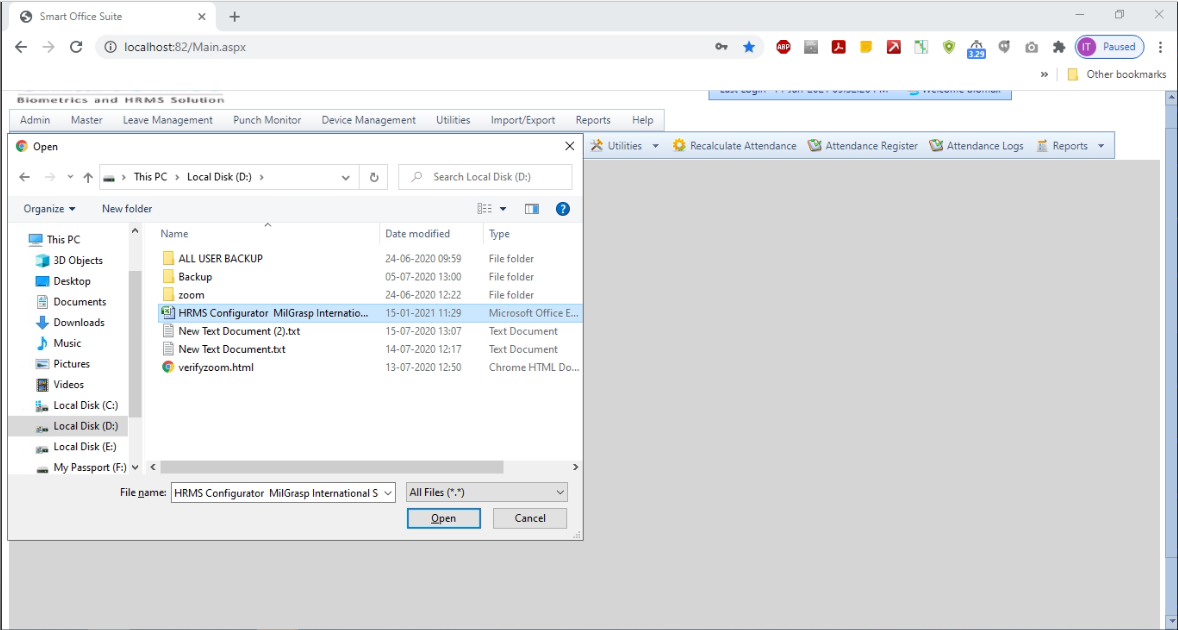
7.1 Login to MilGrasp Application
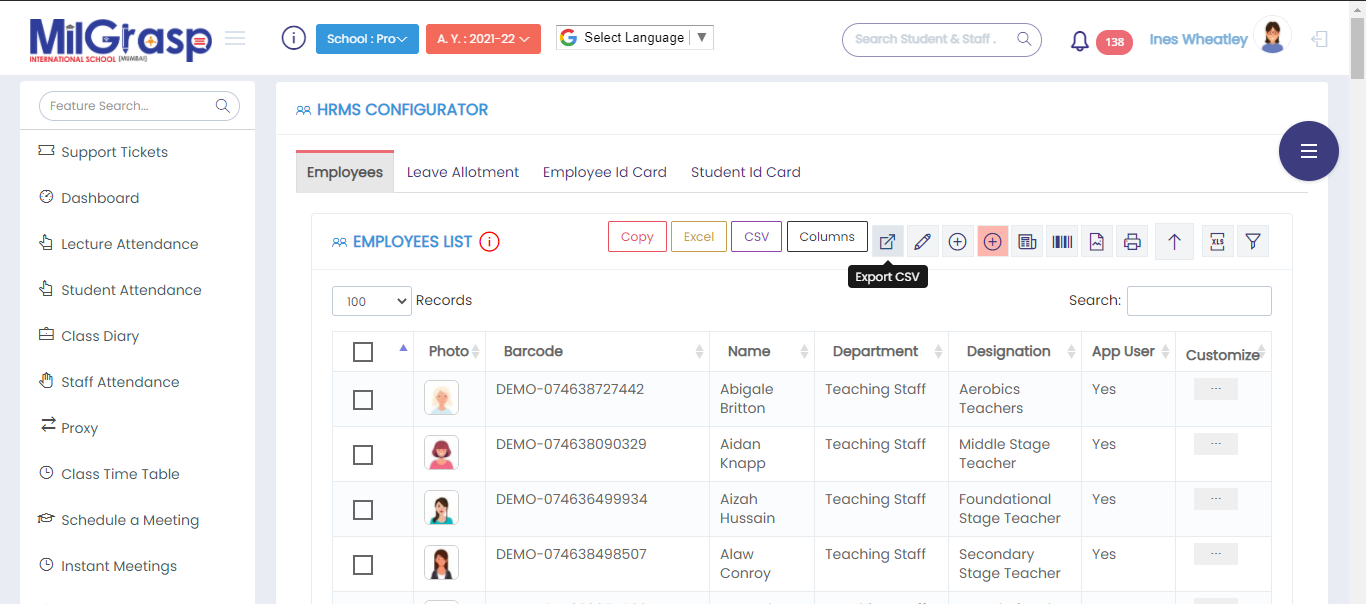
7.2 HRMSConfigurator → Employee → Select the User that you want to export → Click on Export CSV
7.3 Open the CSV file. Change the date format of 3 columns “DOJ” ”DOC” ”DOB” to yyyy/MM/DD. All date values should
be in (yyyy-mm-dd) format only.
7.4 Mandatory fields “barcode”, “name”, “location”, “status”, “device code”, “RFID”.
7.5 Open smart office → Device management → Upload User In device.
7.6 Check the highest device code in the list
7.8 Device code column will be blank in exported CSV file. Assign sequential numbers starting after the
biggest that you have seen in the above list ( eg. The highest number is 23 so assign 24, 25, 26 ………. ***)
*** (Device code for each user should be Unique in CSV also of the previously uploaded employees)
7.9 Save the CSV file now & do not open or else date format will change automatically to dd/mm/yyyy.
8. Export & import MilGarsp Employee Data to SmartOffice
8.1 Open SmartOffice → Import/Export → Import Employee Details → click on select button.
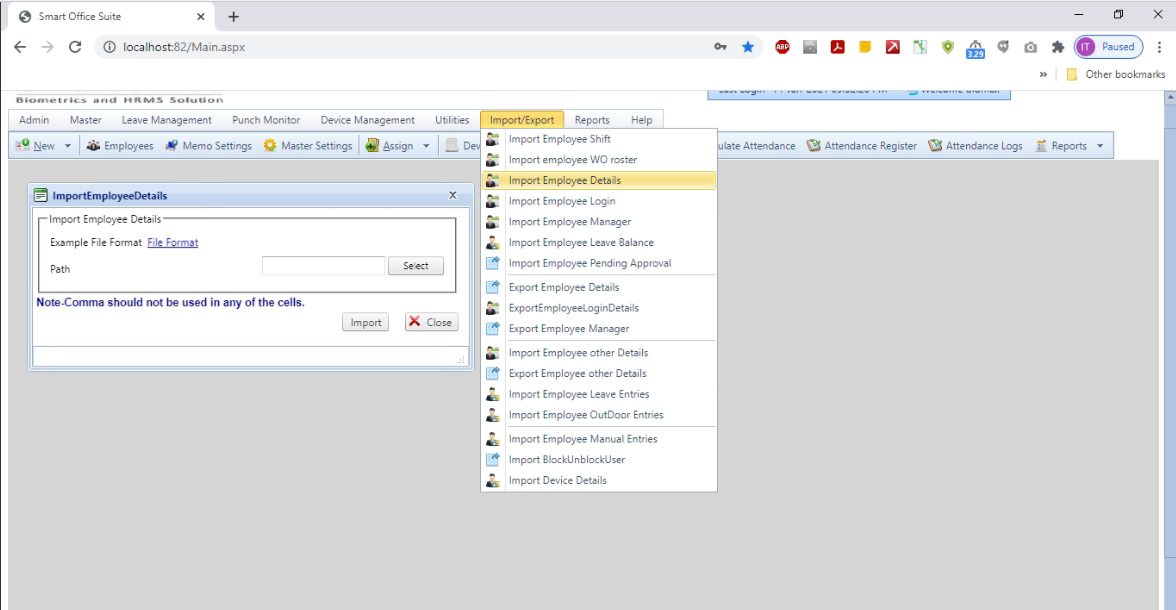
8.2 Import CSV the file that we have been saved previously.
8.3 Click on the Import button to complete the Import.
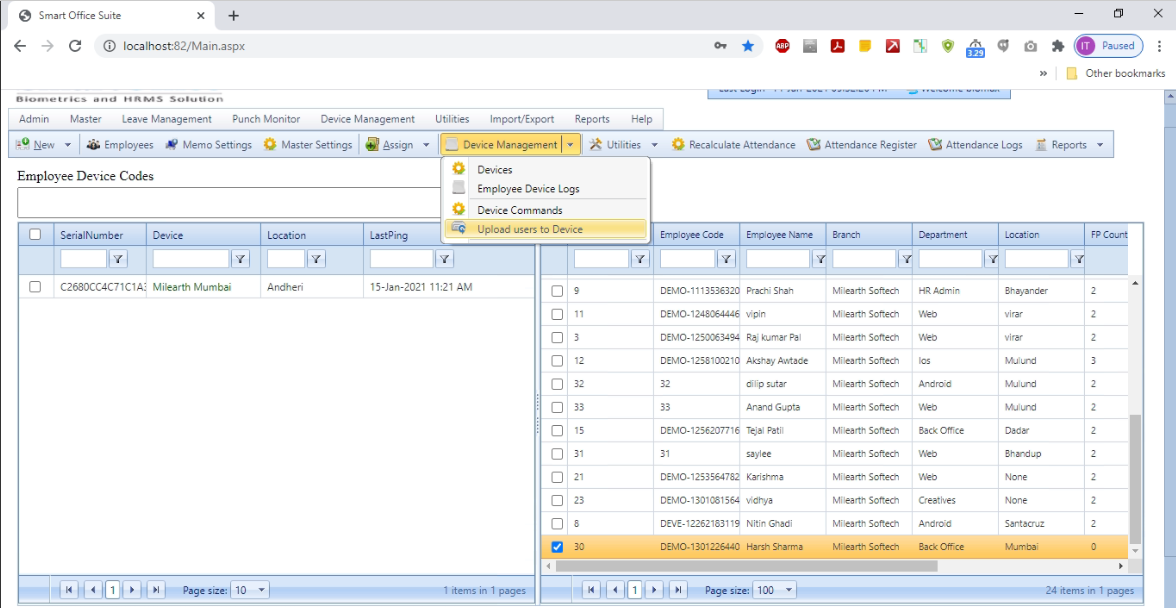
Import data from smart office to biometric Device
1. Open SmartOffice → Device Management → Upload users to devices
2. It will display the two sides, left hand side will show Device & right hand side will show all the employees
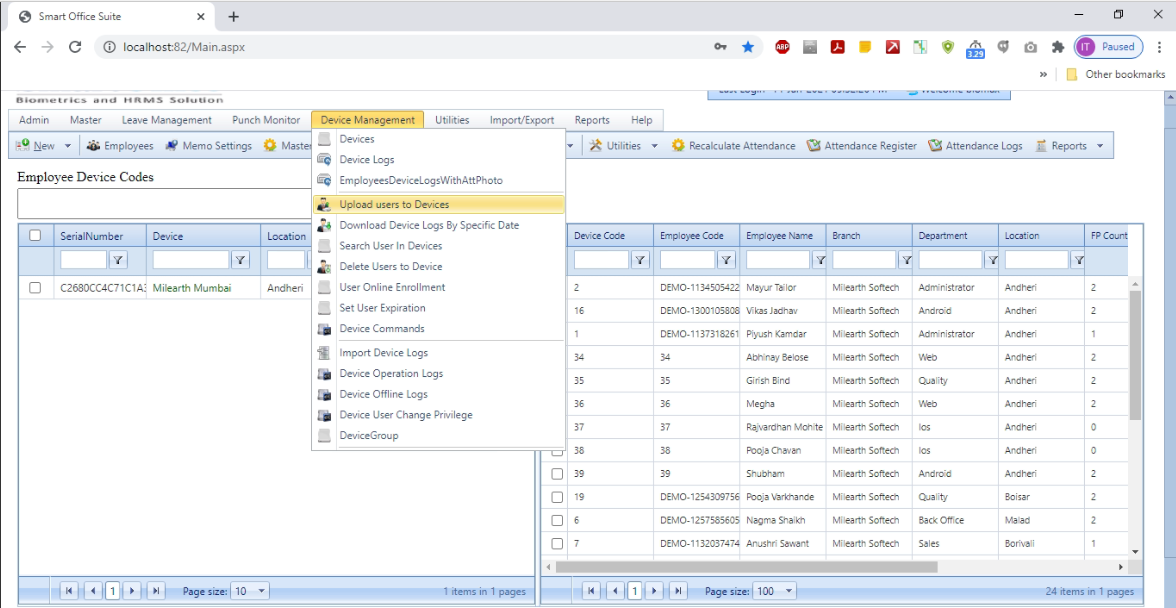
3. Select the device on left side in which you want to upload the data
4. Select the users from right side that you want to upload in selected Devices
5. Click on the upload button available in the bottom right corner.
6. To check status of data → Device Management → Device Commands
7. Click on the refresh button to see the latest changes
8. After some time all the data will be uploaded in the each device.
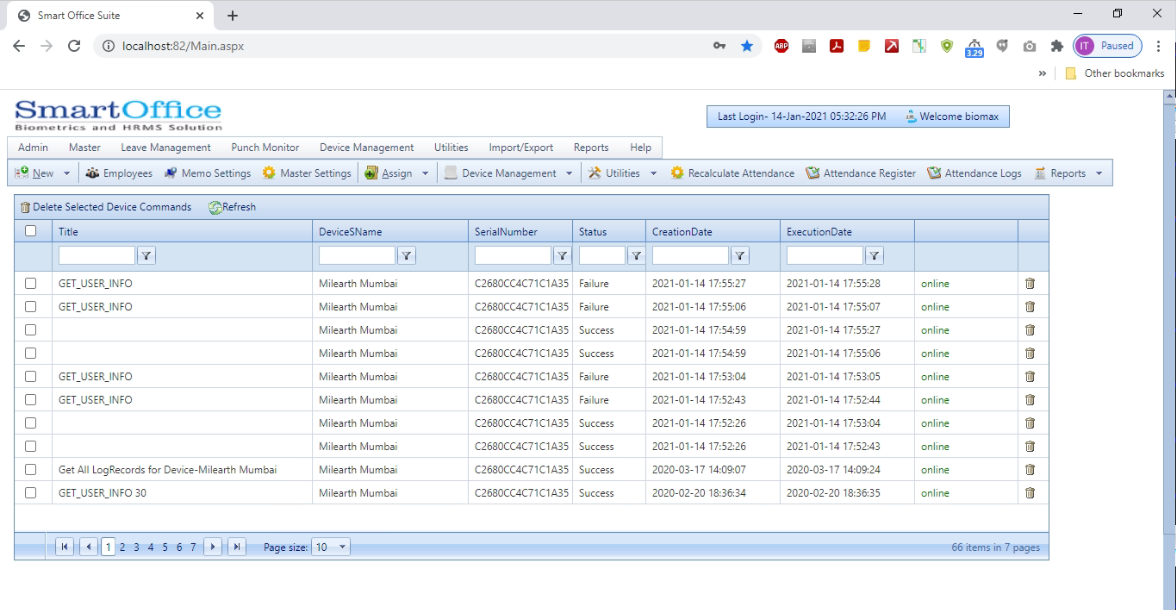
9. If Status is “success” of all the rows then data is uploaded.